Scope of ASTM A737
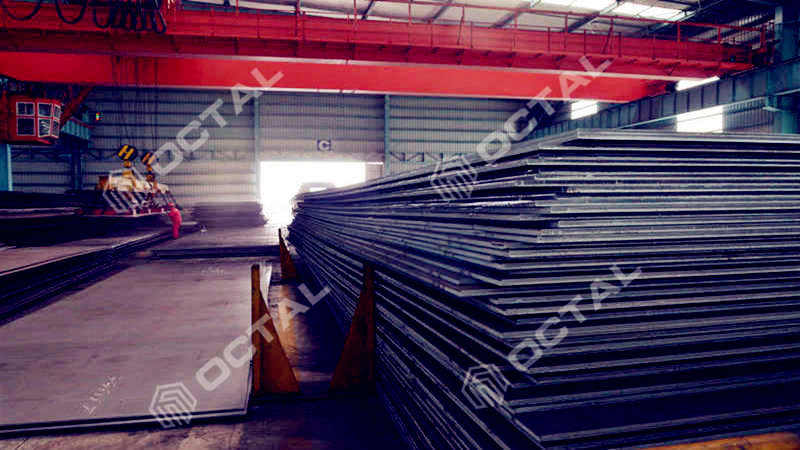
ASTM A737 steel plate is used for piping and making pressure vessels, material with high strength and low alloy steel. It inlcudes two grades of Grade B [Min Y.S. 345Mpa] and Grade C [Min Y.S. 415Mpa].

Maximum Thickness
The maximum thickness of plates is limited only by the capacity of the chemical composition and heat treatment to meet the specified mechanical property requirements; however, current practice normally limits the maximum thickness to 4 in. [100 mm] for each grade.
Delivery Condition
ASTM A737 grade C in the as-rolled condition is sensitive to cracking during flame cutting, transit, and handling, particularly in thicknesses over 2 in. [50 mm]. Plates should not be shipped in the as-rolled condition only except by mutual agreement between the manufacturer and the purchaser.
Referred Documents
ASTM Standards
- A20/A20M General Requirements of steel plates for pressure vessels.
- A435/A435M For straight-beam Ultrasonic Examination of steel plates.
- A577/A577M For UT of angel-beam of steel plate.
- A578/A578M For straight-beam UT examination of rolled steel plates for special applications.
General Requirements and Ordering Information
Material supplied to this specification shall conform to the requirements of Specification A20/A20M. These requirements outlines the testing and retesting methods and procedures, permitted variations in dimensions and mass, quality, repair of defects, marking, loading, and ordering information.
In addition to the basic requirements of this specification, certain supplementary requirements are available when additional control, testing, or examination is required to meet end use requirements. The purchaser is referred to the listed supplementary requirements in this specification and to the detailed requirements in Specification A20/A20M.
If the requirements of this specification are in conflict with the requirements of Specification A20/A20M, the requirements of this specification shall prevail.
Manufacture
The steel under ASTM A737 shall be killed and shall conform to the fine austenitic grain size requirement of Specification A20/A20M.
Heat Treatment
The material shall be normalized by thermal heating to a proper temperature which produces and austenitic structure, but not exceeding 1700°F [925°C], then holding enough time to attain uniform heat throughout the material, and cooling in air.
In case approved by the buyer, cooling rates faster than air cooling are permitted for improvement of strength or toughness, provided the plates are subsequently tempered in the temperature range from 1100 to 1300° F [595 to 705°C].
When manufacturer choose to perform the heat treatment with about 2 options, the manufacturer shall normalize plates conforming to grade C within the range from 1650 to 1850° F [900 to 1010°C] prior to shipment for plates more than 50 mm. [2 inch] in thickness unless otherwise agreed to.
Chemical Requirements of ASTM A737 Grade B, C Plates
The steel shall conform to the requirements as to chemical composition prescribed in Table unless otherwise modified in accordance with Supplementary Requirement S17, Vacuum Carbon-Deoxidized Steel, in Specification A20/A20M.
Chemical Requirements | ||||
|---|---|---|---|---|
Elment | Composition, % | |||
Grade B | Grade C | |||
Heat | Product | Heat | Product | |
Carbon, max | 0.2 | 0.22 | 0.22 | 0.24 |
Manganese | 1.15-1.50 A | 1.07-1.652 A | 1.15-1.50 | 1.07-1.62 |
Phosphorus, max | 0.025 | 0.025 | 0.025 | 0.025 |
Sulfur, max | 0.025 | 0.025 | 0.025 | 0.025 |
Silicon | 0.15-0.50 | 0.10-0.55 | 0.15-0.50 | 0.10-0.55 |
Vanadium | ... | ... | 0.04-0.11 | 0.03-0.12 |
Columbium, max | 0.05 | 0.05 | 0.05 | 0.05 |
Nitrogen | ... | ... | 0.03 | 0.03 |
A. The maximum manganese may be increased to 1.60% o heat analysis and 1.72% on product analysis, provided that the carbon content on heat analysis does not exceed 0.18%.
Mechanical Requirements
ASTM A737 plates tension test specimens shall conform to the requirements shown in Table 2.
For nominal plate thickness of 3/4 in. [20 mm] and under, when requirements for elongation in 2 in. [50 mm] are to be determined, the 1 1/2 in. [40 mm] wide rectangular specimen may be used for tension test, and the elongation may be determined in a 2 in. [50 mm] gage length that includes the fracture and that shows the greatest elongation.
Tensile Requirements | ||
|---|---|---|
| Grade B | Grade C |
Yield strength, min, ksi [MPa] | 50 [345] | 60 [415] |
Tensile strength, ksi [MPa] | 70-90 [485-620] | 80-100 [550-690] |
Elongation in 8 in. [200 mm], min, % A | 18 | 18 |
Elongation in 2 in. [50 mm], min, % A | 23 | 23 |
A See Specification A20/A20M for elongation adjustment.
